

Partitioning your hard drive is an ideal way to organize your files, folders, and programs into your own virtual drives. Although there are advantages of having multiple physical drives for the same purpose, with the rise in multi-terabyte hard drives, partitioning a single drive is a viable method for giving your device the multi-drive flexibility with plenty of room on each, without shelling out for a second drive.
If you’ve just purchased a new drive and want to split it up, you will need to partition it before you use it. Whether you’re dealing with a new drive, or just searching for an existing one to partition, the process is the same. Thankfully it’s quick and easy to learn how to partition your hard drive in Windows 10. In condition, you follow the steps below, we will assist you in just a few quick steps from a single drive system to one with as many virtual drives as you want.
If you are looking to create new volumes for the purpose of backup, we would still suggest using one of the best external hard drives instead. If you would prefer someone else to manage the backup process, these are the best cloud providers for you.
Please bear in mind that although we will use the word “hard drive” throughout this section, the same steps and procedures will also apply to a solid-state drive. Here, we dive deeper into the variations between solid-state and hard drives.
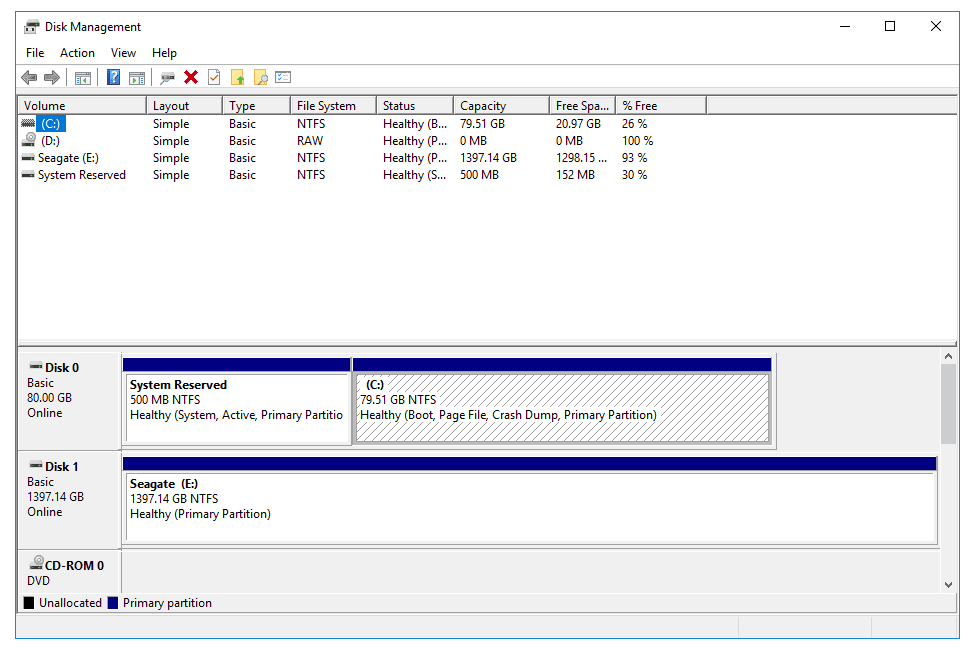
Windows Disk Management
Using Windows ‘ built-in Disk Management tool, the simplest way to partition the new or existing hard drive is. Though some third-party tools have slightly extended feature sets, the standard Windows device is fully capable of creating new partitions with which you can operate. Though the steps below are unique to Windows 10 systems, they do refer to Windows 7 and 8.1, where the procedure is much the same.
Step 1
To scan for Disk Management, use the Windows search box and pick Build and create hard disk partitions from the results box. Alternatively, use the Windows User Power Menu (Win Key + X) and click Disk Management.
Step 2
Pick the hard drive from the list of available drives which you want to partition. If you are on a new drive, skip to Step 4. If it is an existing hard drive and even your operating system is built on it, before you can partition it, you will need to build some unallocated space. Right-click it and pick Volume Shrink from the drop-down menu.
Step 3
The PC will then determine how much free space the new partition can be assigned to. When done, you’ll be asked how much of it you’d like to use. To use all the free space on the hard drive just press the Shrink button. If you want to specify the size of the partition in the respective field, enter it in megabytes before you hit Shrink.
The process may take one minute depending on the speed of your drive, but when complete, a new unallocated space will be shown in the bottom half of the disk management screen next to the corresponding physical drive.
Step 4
Right-click the Unallocated space and from the resulting menu pick New Simple Volume.
Step 5
Follow the instructions on screen and pick the volume size (the default will use all unallocated space) and the drive letter.
Step 6
When creating a new partition it is prudent to format new and old drives. Choose to do so when you have given the option. Add NTFS to file system. For portable devices the alternative exFAT is more widely used. You can also add a— name— volume sticker, if you want. By default, you will set the unit size of the allocation. If you’re short on time, pick Fast File. Rarely requires a full format.
Step 7
Click Next buttons to start, and finally hit Finish to build the volume. Your hard drive now has a brand-new partition with a very special tag. You will be able to see it on the Disk Management tab, and all the information about it.


