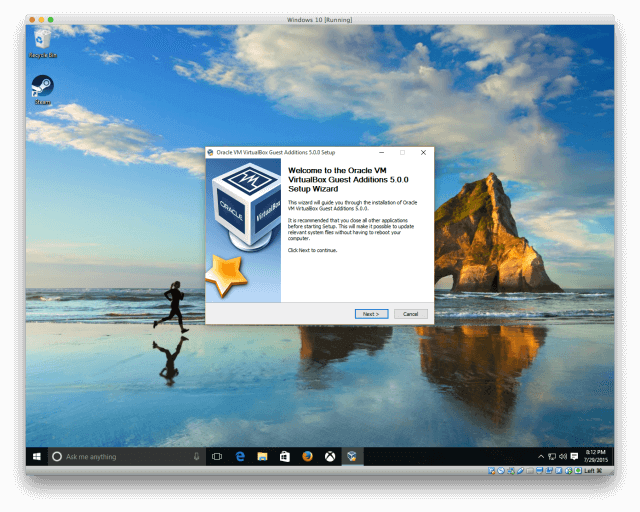
Officially Windows 10 is open to the world, and it is a very solid update. It’s not great, but the novelty factor alone is always worth checking. Nonetheless, immediately after a big OS update, updating a production computer would usually be frowned on. Virtualization is currently the best bet for those of us who want to test all new features without jeopardizing our productivity. Thankfully, it is not especially difficult to set up Windows 10 on a virtual machine. I will go from tip to tail to get you set to check out Cortana and the new Xbox update at the end of this post.
1. Download the Windows 10 ISO
First off, go to the Windows 10 download page and pick the beta version. Choose the language, click “Validate,” select it and click “Validate.” You can choose from the 32-bit to 64-bit versions of the OS at this stage. For this advance I use the 64-bit English ISO, but go for your setup with anything works.
2. Create a new virtual machine
Get the latest version of the free open source Oracle program to the VirtualBox website. Pass the process of installation and start the application. Click on the “New” button and give it your name. Ensure the “Type” is set to “Microsoft Windows,” and the “Version” is set to “Windows 10,” make certain that you match the 64-bit VM version to the x64 version and the 32-bit VM version to the x86.
3. Allocate RAM
Now you have to decide how much RAM you want for this VM to assign. You need at least 1 GB of RAM for the x86 version. You will need 2 GB in the x64 version. And I decided that 4 GB was perfect for my system. I have 16GBs of RAM on my desk. Just make sure you stay in the green, whatever you choose. You will end up with serious performance problems if you assign too much RAM.
4. Create a virtual drive
First, a virtual drive needs to be created. Microsoft claims the minimum room available for a 32-bit version is 16 GB, but the 64-bit version requires 20 GB. On my desktop I decided on a 50 GB virtual drive, but please make it as big as you need it. Just make sure that your actual hard drive has enough space to handle the size of your virtual drive.
5. Locate the Windows 10 ISO
Now, go into the settings for this virtual machine, and navigate to the “Storage” tab. Click the disc icon with a green plus next to “Controller: SATA.” Click “Choose disk,” and then locate the Windows 10 ISO you downloaded earlier.
6. Configure video settings
Please move to “Display” on the tab before you launch the installation of Windows 10. You can set the amount of video storage you are prepared to assign to the VM, but make sure you are in green. The VirtualBox User Manual describes them experimentally as also possible for you to turn to 3D and 2D acceleration for better performance. You may therefore run into some glitches.
7. Launch the installer
After this setup is complete, press the VirtualBox “Start” button and start installing Windows 10. Follow the on-screen instructions, and you are going well. Eventually, you will be prompted to provide your user name and password for Live.com. So you are going to log into your Windows 10 account.


